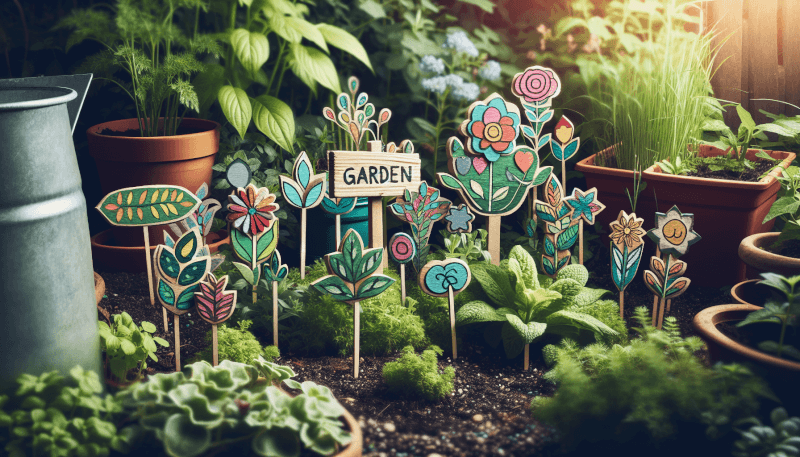
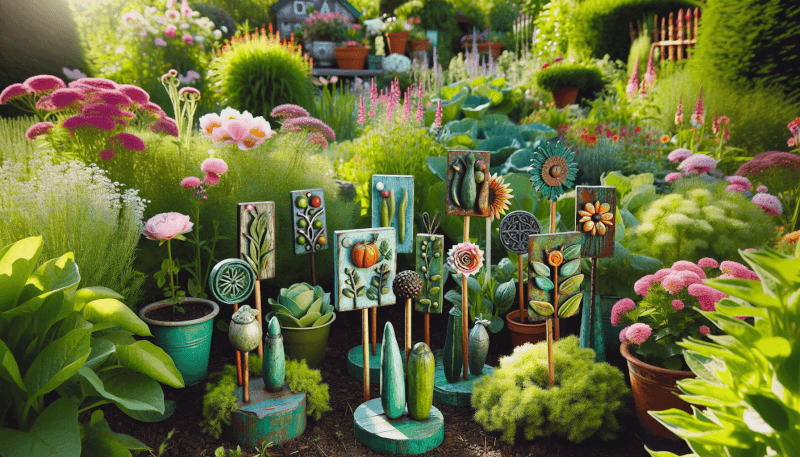
Are you looking to add a personalized touch to your garden? Look no further! In this article, we will show you some easy DIY projects for making your own garden markers. These charming markers not only help you identify your plants, but also add a pop of creativity to your outdoor space. Whether you have a green thumb or are just starting out, these projects are perfect for anyone looking to spruce up their garden. So grab your crafting supplies and let’s get started on making your garden truly unique!

Materials Needed
To create your own garden markers, you will need the following materials:
Wooden Popsicle sticks
Popsicle sticks serve as a simple and versatile base for your garden markers. They are affordable and easy to find.
Chalkboard paint
Chalkboard paint will give your garden markers a unique and customizable touch. It allows you to easily write and erase plant names as needed.
Paintbrush
A paintbrush is necessary for applying the chalkboard paint onto the popsicle sticks.
Acrylic paint
Acrylic paint will be used to add color to other types of garden markers, such as the spoon markers and rock markers.
Paint markers
Paint markers are ideal for adding precise and vibrant plant names to various types of garden markers.
Letter stamps
Letter stamps are perfect for creating uniform and professional-looking plant names on cork and clay markers.
Cork
Cork serves as a natural and environmentally-friendly material for creating unique plant markers.
Twine
Twine will be used to attach tags to stakes or dowels, giving your garden markers a rustic and charming look.
Tags
Tags made from cardboard or craft paper will be customized and attached to your garden markers to display plant names.
Permanent marker
A permanent marker is useful for writing plant names on wine corks that have been repurposed as garden markers.
1. Popsicle Stick Herb Markers
Popsicle stick herb markers are a simple and fun way to label your herb garden.
Step 1: Prepare the popsicle sticks
Start by collecting the appropriate number of popsicle sticks for your herb garden. If needed, you can purchase them at a local craft store or online. Make sure the sticks are clean and free from any debris.
Step 2: Paint the sticks with chalkboard paint
Using a paintbrush, apply a layer of chalkboard paint to one side of each popsicle stick. Allow the paint to dry completely before moving on to the next step.
Step 3: Label the markers with plant names
Once the chalkboard paint is dry, you can use chalk or a chalk marker to write the names of your herb plants on the sticks. This allows for easy labeling and can be changed as needed when you rotate your herbs.

2. Painted Rock Markers
Painted rock markers are a creative and natural option for labeling your plants.
Step 1: Collect and clean smooth rocks
Take a stroll outside and gather smooth rocks of various shapes and sizes. Make sure to wash them thoroughly to remove any dirt or debris.
Step 2: Paint the rocks with acrylic paint
Using acrylic paint and a paintbrush, paint each rock in a color of your choice. Consider using vibrant and contrasting colors to make your garden markers stand out.
Step 3: Add plant names using paint markers
Once the paint has dried, use paint markers to write the names of your plants on the rocks. The paint markers will provide a bold and permanent label for your garden markers.
3. Stamped Cork Plant Markers
Stamped cork plant markers add a rustic and personalized touch to your garden.
Step 1: Cut cork into desired shapes
Start by cutting the cork into your desired shapes and sizes. You can create simple rectangles, squares, or even custom shapes that reflect your gardening style.
Step 2: Stamp the plant names onto the cork
Using letter stamps and an ink pad, imprint the names of your plants onto the surface of the cork markers. Press each stamp firmly to ensure a clear and legible impression.
Step 3: Seal the stamps with varnish
To protect the stamped plant names and ensure their longevity, apply a coat of varnish over the surface of the cork. This will prevent smudging or fading over time.

4. Twine-Wrapped Tags
Twine-wrapped tags provide a charming and rustic look for your garden markers.
Step 1: Cut tags from cardboard or craft paper
Start by cutting tags from cardboard or craft paper. You can choose the shape and size depending on your preference.
Step 2: Wrap twine around the tags
Take a length of twine and wrap it around the tag, securing it with a knot or a dab of glue. Leave a length of twine at the top of the tag to attach it to stakes or dowels.
Step 3: Attach tags to stakes or dowels
Using the excess twine, attach the tags to stakes or dowels. Simply tie the twine around the stake or dowel, leaving enough length for the tag to hang securely near your plants.
5. Painted Spoon Markers
Repurpose old metal spoons to create unique and eye-catching garden markers.
Step 1: Clean and dry old metal spoons
Start by thoroughly cleaning and drying old metal spoons. This will ensure that the paint adheres properly to the spoon surface.
Step 2: Paint the handles with acrylic paint
Using acrylic paint and a paintbrush, paint the handles of the spoons in a color of your choice. Consider using bright or metallic colors to make your garden markers visually appealing.
Step 3: Write or stamp plant names on the spoon heads
Once the paint on the handles has dried, use a permanent marker or stamp to write or imprint the names of your plants on the spoon heads. You can also get creative and add decorative patterns or designs.

6. Engraved Stone Markers
Engraved stone markers offer a durable and elegant option for labeling your garden.
Step 1: Find smooth flat stones
Begin by searching for smooth and flat stones in your garden or on nature walks. These stones should have a suitable surface for engraving.
Step 2: Use a rotary tool to engrave plant names
Using a rotary tool equipped with a engraving tip, carefully engrave the names of your plants onto the surface of the stones. Take your time and work patiently to create clear and precise engravings.
Step 3: Seal the engraving with varnish or clear coat
To protect the engravings from wear and tear, apply a coat of varnish or clear coat over the surface of the stones. This will help to preserve the plant labels for a long time.
7. Clay Plant Markers
Create unique and customizable clay plant markers using air-dry clay.
Step 1: Mold air-dry clay into desired shapes
Start by taking a small amount of air-dry clay and molding it into your desired shapes. You can choose simple rectangles, circles, or even custom shapes to match your garden’s aesthetic.
Step 2: Imprint plant names using letter stamps
Using letter stamps, press the names of your plants into the surface of the clay markers. Ensure that each stamp is clear and legible, pressing firmly for a good impression.
Step 3: Let the clay dry and harden
Allow the clay markers to dry and harden completely according to the instructions provided with the air-dry clay. Once dry, they will be ready to use in your garden.

8. Wine Cork Plant Labels
Repurpose used wine corks to create charming and eco-friendly plant labels.
Step 1: Collect and clean used wine corks
Start by collecting used wine corks from your own collection or asking friends and family for their corks. Make sure to clean them thoroughly to remove any wine residue.
Step 2: Cut a small slit in each cork
Use a sharp knife or a craft knife to cut a small slit in each cork. This slit will serve as a place to insert the plant labels.
Step 3: Write plant names on the corks
Using a permanent marker, write the names of your plants on the surface of each wine cork. Make sure the names are clear and easy to read.
10. Metal Washer Garden Markers
Metal washer garden markers are a unique and industrial option for labeling your plants.
Step 1: Gather metal washers in various sizes
Collect metal washers in various sizes from hardware stores or your own toolbox. Washers of different sizes can create an interesting visual display in your garden.
Step 2: Label the washers with plant names using a paint marker
Using a paint marker, write the names of your plants on each metal washer. The paint marker will provide a bold and permanent label on the metal surface.
Step 3: Attach the washers to metal stakes
Using adhesive or a wire, attach the metal washers to metal stakes. Place the stakes near each plant, ensuring that the plant names are clearly visible.
With these easy and creative DIY projects, you can make your own garden markers that are not only practical but also add a personal touch to your garden. Choose the method that best suits your style and materials, and enjoy a beautifully labeled garden all season long.


