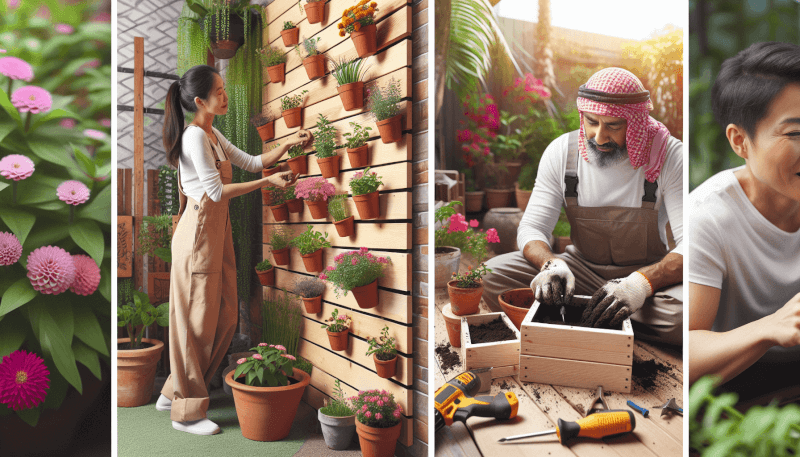
In this article, you will discover a delightful collection of 10 creative DIY gardening projects that are perfect for trying out this weekend. Whether you’re an experienced gardener or just starting out, these projects offer a fun and rewarding way to spruce up your outdoor space. From creating your own herb garden to building a whimsical fairy house, each project is not only easy to do but also allows you to unleash your creativity. So grab your gardening gloves and get ready to embark on a weekend filled with green-thumb adventures!
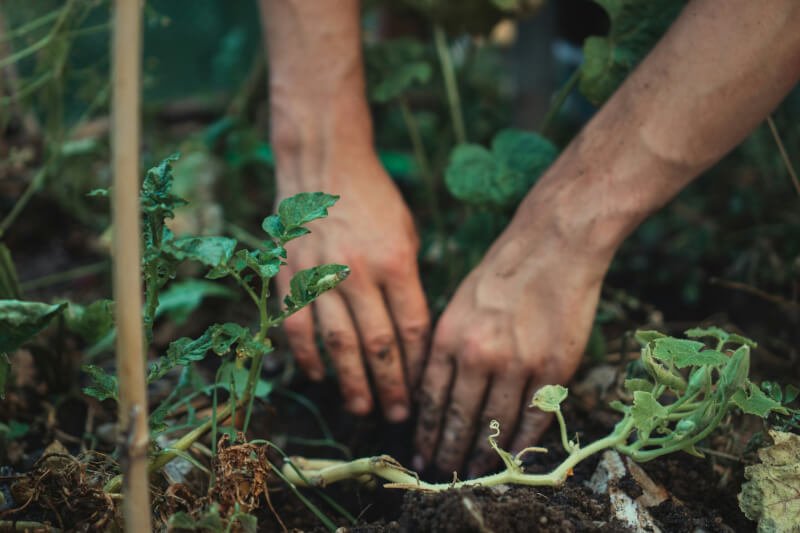
DIY Herb Garden
If you love cooking with fresh herbs, why not create your very own DIY herb garden? It’s a fun and rewarding project that will not only provide you with fresh ingredients for your meals but will also add a touch of greenery to your living space. Here are a few ideas to get you started.
Vertical Herb Garden
If you have limited space but still want to grow a variety of herbs, a vertical herb garden is the perfect solution. You can easily create a vertical garden by using hanging pots or attaching planters to a wall or fence. This not only maximizes your space but also creates a beautiful display of cascading herbs.
Mason Jar Herb Garden
Mason jars aren’t just for canning! They can also be transformed into charming herb gardens. Simply attach them to a wooden board or hang them with twine, fill with soil, and plant your favorite herbs. Not only will this create an eye-catching display in your kitchen, but it will also make it easy to reach for fresh herbs whenever you need them.
Windowsill Herb Garden
If you have a sunny windowsill, why not turn it into a mini herb garden? Choose a variety of herbs that thrive in indoor conditions, such as basil, mint, and parsley. Place each herb in its own pot and line them up on your windowsill. Not only will this add a pop of green to your kitchen, but it will also make it convenient to grab fresh herbs while you cook.
Upcycled Planters
Do you have old tires, teacups, or wine bottles lying around? Why not give them a new lease on life by turning them into unique planters? Here are a few ideas to inspire you.
Tire Planter
Transforming an old tire into a planter is not only a creative way to repurpose it but also a great way to add a bold statement to your garden. Simply paint the tire in a color of your choice, fill it with soil, and plant your favorite flowers or herbs. You can stack multiple tires to create a tiered display or paint each tire a different color for a vibrant look.
Teacup Planter
If you have a collection of mismatched teacups, don’t let them gather dust in the cupboard. Instead, use them as adorable planters. Fill each teacup with soil and plant small flowers or succulents. This is a great way to bring a touch of whimsy to your garden or even display them indoors as charming décor.
Wine Bottle Planter
Empty wine bottles can be transformed into elegant planters with just a few simple steps. Cut off the top of the bottle and smooth the edges. Fill the bottom with small stones for drainage, add soil, and plant your favorite herbs or flowers. You can hang these bottle planters or arrange them on a shelf for a chic and eco-friendly garden display.
DIY Fairy Garden
Step into the enchanting world of fairy gardens by creating your very own miniature landscape. Whether you have a large garden or a small balcony, there’s always room for a touch of magic. Here are a few fairy garden ideas to spark your creativity.
Miniature Fairy Garden
Creating a miniature fairy garden is like crafting a tiny world of wonder. Choose a container, such as a shallow dish or a planter, and fill it with soil. Then, add small plants, miniature furniture, and tiny accessories like fairy houses, a tiny pond, or even a miniature fairy swing. Let your imagination run wild as you create a whimsical and magical fairy garden.
Fairy Garden Terrarium
If you prefer a low-maintenance fairy garden, a terrarium is the perfect option. Choose a glass container with a lid and fill the bottom with gravel for drainage. Add a layer of activated charcoal to keep the soil fresh, then top it with potting soil. Plant small ferns, moss, and other tiny plants. Finish by adding miniature fairy accessories, like a tiny bench or a miniature bridge, to complete the magical scene.
Fairy House Planter
Why not combine gardening and crafting by creating a fairy house planter? Start with a large planter or a wooden box and paint it in vibrant colors to resemble a fairy house. Cut small windows and a door and decorate with details like tiny flower boxes or a miniature pathway. Fill the planter with soil and plant small flowers or succulents around the house. This unique fairy garden will surely impress both children and adults alike.
DIY Raised Garden Bed
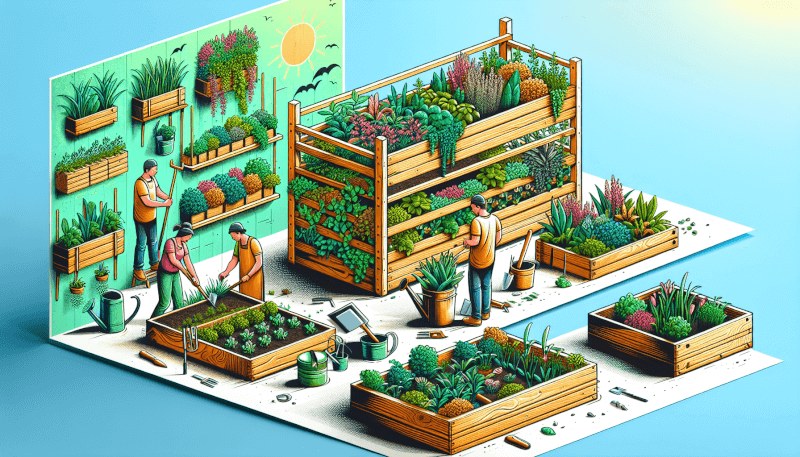
If you have limited space or poor soil quality, a raised garden bed offers the perfect solution. Not only does it improve drainage and soil quality, but it also makes gardening more accessible and enjoyable. Here are a few DIY raised garden bed ideas to consider.
Pallet Garden Bed
Repurposing pallets into a garden bed is a cost-effective way to create a raised planting area. Simply stack the pallets on top of each other and secure them with screws or nails. Fill the pallets with soil and plant your favorite vegetables or flowers. This is a great option if you’re working with a tight budget or want a rustic look for your garden.
Brick Garden Bed
Brick garden beds not only add a classic and elegant touch to your garden but also provide a durable and long-lasting solution. Start by outlining the bed area with bricks and secure them with mortar. Fill the bed with soil and plant your desired plants. The sturdy construction of a brick bed will keep your plants protected while adding visual appeal to your outdoor space.
Cinder Block Garden Bed
Cinder blocks may not seem like the most glamorous choice, but they can be transformed into a stylish and functional garden bed. Simply stack the blocks to your desired height, leaving gaps for drainage. Fill the gaps with soil and plant your favorite flowers or vegetables. You can even paint the blocks in vibrant colors to add a pop of personality to your garden.
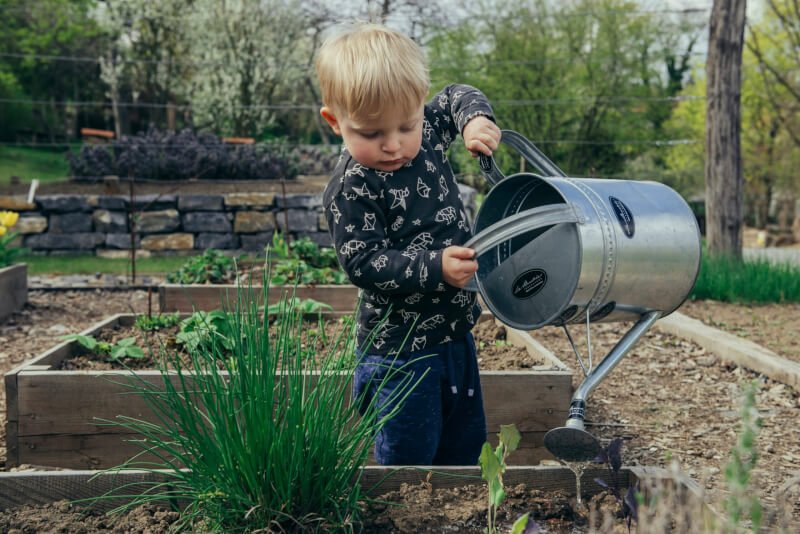
DIY Vertical Garden
If you want to make the most of your vertical space, a vertical garden is an excellent option. It not only maximizes your planting area but also creates an eye-catching display. Here are a few DIY vertical garden ideas to inspire you.
Pallet Vertical Garden
Repurposing pallets into a vertical garden is an easy and affordable way to create a stunning display of plants. Simply attach the pallet to a wall or fence, ensuring it is secure. Fill each opening with soil and plant your desired flowers or herbs. You can paint the pallet or add other decorative elements to create a unique and personalized vertical garden.
Hanging Shoe Organizer Vertical Garden
Give an old shoe organizer a new purpose by turning it into a vertical garden. Attach the shoe organizer to a wall or fence and fill each pocket with soil. Plant small flowers or herbs in each pocket, and watch as your vertical garden comes to life. This is a great option if you’re limited on space or want a portable vertical garden.
Gutter Vertical Garden
Repurposing gutters as a vertical garden is a clever and space-saving solution. Attach the gutters to a wall or fence, ensuring they are level. Fill each gutter with soil and plant your favorite trailing plants or herbs. The gutter garden will not only add a unique and modern touch to your outdoor space but will also provide a practical way to grow your plants in small spaces.
DIY Succulent Arrangement
Succulents are not only trendy but also incredibly easy to care for, making them the perfect addition to your indoor or outdoor space. Here are a few DIY succulent arrangement ideas that are sure to bring a touch of nature to your home.
Teacup Succulent Arrangement
Adding a touch of whimsy to your succulent collection is as easy as planting them in teacups. Simply fill each teacup with soil and plant a variety of succulents. Mix and match teacups of different colors and patterns for a charming and eclectic feel. These teacup succulent arrangements are perfect for adding a pop of green to your windowsill, bookshelf, or coffee table.
Driftwood Succulent Planter
Turn a piece of driftwood into a unique planter for your succulents. Choose a piece of driftwood with nooks and crannies, and use a drill to create holes for planting. Fill the holes with soil and plant your favorite succulents. This driftwood succulent planter makes a stunning centerpiece for your dining table or a beautiful addition to your outdoor garden.
Vintage Drawer Succulent Display
Old drawers can be transformed into rustic and charming succulent displays. Find a vintage drawer with enough space for planting succulents, then fill it with soil and arrange your favorite succulents. The worn look of the drawer adds character to your arrangement and makes for a unique conversation piece. Display your vintage drawer succulent arrangement on a shelf, side table, or even hang it on the wall.
DIY Bird Feeder
Attracting birds to your garden is not only a delight to watch but also beneficial for your local ecosystem. Create your very own DIY bird feeder to invite these feathered friends to visit your outdoor space. Here are a few bird feeder ideas to get you started.
Wine Bottle Bird Feeder
Repurpose an empty wine bottle into a stylish bird feeder. Simply attach a bird feeder tube to the bottom of the bottle and fill it with birdseed. Hang the feeder from a tree or a hook, and watch as birds flock to enjoy the food you provide. This wine bottle bird feeder adds a touch of elegance to your garden while providing a valuable food source for birds.
Teacup Bird Feeder
Give your avian friends a whimsical dining experience by using teacups as bird feeders. Attach a saucer to the bottom of a teacup, then fill the teacup with birdseed. Hang the teacup bird feeder from a tree branch or place it on a table or windowsill. This adorable feeder will not only provide nourishment for birds but will also add a touch of charm to your garden.
Mason Jar Bird Feeder
Transform a mason jar into a functional and attractive bird feeder. Attach a bird feeder base to the bottom of the jar and fill it with birdseed. Secure a lid with small holes to allow birds to access the food without spilling it. Hang the mason jar bird feeder from a tree or a hook and enjoy watching birds visit your garden. This DIY bird feeder is not only easy to make but also adds a rustic charm to your outdoor space.
DIY Garden Markers
Keeping track of your plantings is essential, especially if you’re growing different varieties or using seedlings. DIY garden markers are not only practical but also allow you to add a personal touch to your garden. Here are a few ideas for creating your own garden markers.
Painted Rock Garden Markers
For a natural and artistic touch, paint rocks as garden markers. Find smooth rocks of a suitable size, wash and dry them thoroughly, then paint each rock with the name of the plant or herb. You can get creative with your designs and use a variety of colors to make your garden markers stand out. Place these painted rock markers next to your plants or herbs for easy identification.
Wine Cork Garden Markers
If you have a collection of wine corks, put them to good use by turning them into garden markers. Write the names of your plants or herbs on the corks using a permanent marker or paint. Attach a wooden skewer or toothpick to the bottom of each cork to make them easy to insert into the soil. These wine cork garden markers add a touch of charm to your garden while helping you stay organized.
Wooden Spoon Garden Markers
Repurpose wooden spoons into unique and practical garden markers. Write the names of your plants or herbs on the handle of each spoon using a permanent marker or paint. Insert the spoon handle into the soil next to your plants for easy identification. These wooden spoon garden markers add a whimsical touch to your garden and are sure to catch the eye of any visitor.
DIY Mason Jar Terrarium
Bring a bit of nature indoors by creating your own DIY mason jar terrarium. Not only will it add a touch of green to your living space, but it’s also a low-maintenance way to enjoy plants. Here are a few ideas for mason jar terrariums.
Succulent Mason Jar Terrarium
Create a stunning and easy-to-care-for succulent mason jar terrarium. Start by filling the bottom of the jar with pebbles for drainage. Add activated charcoal to keep the soil fresh, then layer potting soil on top. Plant small succulents, ensuring they have room to grow. Place your terrarium in a well-lit area, but away from direct sunlight. This succulent mason jar terrarium is a beautiful addition to any room or even as a centerpiece for special occasions.
Fern Mason Jar Terrarium
If you prefer a lush and green terrarium, opt for a fern mason jar terrarium. Begin by creating a layer of pebbles for drainage, followed by activated charcoal and potting soil. Plant a variety of ferns, ensuring they have enough space to spread their fronds. Mist the terrarium with water to create a humid environment. This fern mason jar terrarium brings a calming and natural element to your space and is perfect for those who love the look of vibrant greenery.
Air Plant Mason Jar Terrarium
Air plants are incredibly easy to care for and provide a unique and modern touch to any terrarium. Start by filling the bottom of the jar with decorative stones or pebbles. Place the air plants on top of the stones, ensuring they have good airflow. Mist the plants with water every few days to keep them hydrated. This air plant mason jar terrarium is perfect for those who want a low-maintenance yet visually striking addition to their living space.
DIY Vertical Herb Drying Rack
Once you have harvested your herbs, it’s time to dry them for future use. Creating your own DIY vertical herb drying rack not only helps preserve the flavor and aroma of your herbs but also adds a rustic and decorative element to your kitchen. Here are a few ideas for vertical herb drying racks.
Hanging Herb Drying Rack
Create a hanging herb drying rack by tying a string or twine between two walls, cabinets, or posts. Hang bunches of herbs upside down from the string, ensuring good airflow. This method allows the herbs to dry naturally and retain their flavors. The hanging herb drying rack adds a cozy and vintage touch to your kitchen while providing a practical space for drying herbs.
Pallet Herb Drying Rack
Repurpose a wooden pallet into a functional and rustic herb drying rack. Simply lean the pallet against a wall or secure it to a vertical surface. Attach hooks or clothespins to the pallet slats to hang your herb bundles. This pallet herb drying rack not only saves space but also creates a charming and natural element in your kitchen.
Barn Wood Herb Drying Rack
For a truly rustic and farmhouse-inspired herb drying rack, use barn wood. Arrange the barn wood planks horizontally on a wall or attach them to a wooden frame. Screw hooks into the planks at regular intervals to hang your herb bundles. This barn wood herb drying rack adds a touch of nostalgia and country charm to your kitchen while keeping your herbs fresh and aromatic.
In conclusion, DIY gardening projects are a fantastic way to unleash your creativity and add a personal touch to your living spaces. Whether you choose to create a vertical herb garden or repurpose everyday items into unique planters, there are endless possibilities to explore. So roll up your sleeves, gather your materials, and get ready to embark on these exciting DIY gardening projects this weekend. Happy gardening!
