Imagine transforming your backyard into a serene oasis with the soothing sounds of flowing water. With our step-by-step guide, you’ll learn how to build a beautiful DIY water feature from start to finish. Whether you’re a beginner or a seasoned DIY enthusiast, we’ve got you covered. From selecting the perfect spot to assembling the materials and adding the finishing touches, this comprehensive guide will ensure that you create a stunning and tranquil water feature that you can enjoy for years to come. So grab your tools and let’s get started on this exciting adventure of building your very own DIY water feature!
Choosing the Location
When it comes to building a DIY water feature, the location is a crucial consideration. You want to choose a spot that will not only enhance the beauty of your outdoor space but also be practical in terms of maintenance and accessibility. Here are some factors to keep in mind:
Consideration of sunlight and shade
Before deciding on the exact location for your water feature, take note of how sunlight and shade move throughout your yard. Most aquatic plants thrive in full or partial sunlight, so you’ll want to make sure your chosen location receives an adequate amount of sunlight each day. On the other hand, too much direct sunlight can cause excessive evaporation and potentially harm certain plant species. Aim for a balance between sunlight and shade to create an optimal environment for both your water feature and its inhabitants.
Proximity to a power source
Depending on the type of water feature you choose, you may need to connect a pump or other electrical components to a power source. It’s important to consider the proximity of your chosen location to an electrical outlet. If there isn’t one nearby, you may need to plan for an extension cord or consult an electrician to ensure a safe and efficient setup.
Accessibility for maintenance
While designing your water feature, it’s important to keep in mind the future maintenance tasks that will be involved. You’ll need to access the water feature regularly for cleaning, checking the water levels, and maintaining the pump. Therefore, choose a location that is easily accessible to make these tasks hassle-free. You don’t want to be contorting yourself into awkward positions or battling through dense foliage every time you need to perform routine maintenance.
Designing the Water Feature
Once you’ve determined the perfect location for your DIY water feature, it’s time to focus on the design aspect. This is where you get to be creative and choose the size, shape, and overall style that will suit your personal preferences and complement your outdoor space. Here are some key considerations:
Determining the size and shape
Before getting carried away with designing your dream water feature, it’s important to assess the size and shape limitations of your chosen location. Measure the available space and consider any surrounding landscaping or structures that may influence the size and shape of your water feature. You want the final result to be proportionate and visually pleasing within the given area.
Selecting the type of water feature (pond, fountain, waterfall)
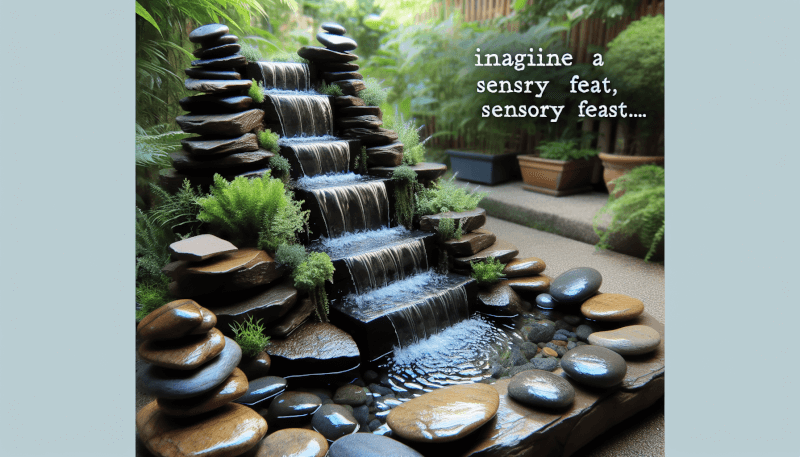
The next decision you’ll need to make is what type of water feature you want to build. There are several options to choose from, including a pond, fountain, or waterfall. A pond can provide a tranquil and natural habitat for plants and various aquatic creatures. A fountain adds an elegant and dynamic element to your outdoor space. A waterfall creates a soothing and visually impressive focal point. Consider the style and atmosphere you want to create when making this decision.
Considering the style and theme
Your water feature should complement the overall style and theme of your outdoor space. Consider the existing landscaping, architecture, and materials used in your yard when selecting the design elements for your water feature. Whether you prefer a modern, minimalist look or a whimsical, naturalistic feel, ensure that the water feature aligns with your desired aesthetic.
Gathering the Necessary Tools and Materials
Before embarking on the construction of your DIY water feature, it’s essential to gather all the necessary tools and materials. Having everything in place from the start will ensure a smoother and more efficient building process. Here’s a list of items you’ll likely need:
Shovel or excavator
Depending on the size and complexity of your water feature, you may need a shovel or even an excavator to dig the hole or trench. Make sure you have the appropriate digging tool on hand to save yourself time and effort.
Pond liner or basin
A pond liner or basin is essential for containing the water in your water feature. You can choose between different materials such as rubber or PVC liners, or you can opt for pre-formed plastic basins that offer ease of installation.
Pump and tubing
If you’re building a fountain or waterfall, a pump and tubing are essential components. The pump will create the necessary water flow, while the tubing will transport the water from the basin to the desired location.
Decorative stones or pebbles
To enhance the aesthetics of your water feature, consider using decorative stones or pebbles. These can be placed within the basin or arranged around the water feature to give it a more natural and visually appealing look.
Plants and aquatic life (optional)
If you’re aiming for a more naturalistic water feature, you may want to incorporate plants and aquatic life. Water lilies, water iris, and floating plants can add color and texture to your feature, while fish and other aquatic creatures can create a lively and engaging ecosystem. Research the specific requirements of the plants and animals you choose to ensure their optimal growth and well-being.
Water treatments and chemicals (optional)
Depending on the type of water feature and the plants or animals you introduce, you may need to consider adding water treatments and chemicals. These can help maintain water clarity, promote plant growth, and control algae or harmful bacteria. Be sure to research and follow the manufacturer’s instructions when using any treatments or chemicals.
Preparing the Area
With all the necessary tools and materials ready, it’s time to prepare the area where your water feature will be installed. Proper preparation is crucial for achieving a professional and long-lasting result. Follow these steps:
Clearing the site of any obstructions (rocks, plants)
Before breaking ground, clear the area of any rocks, plants, or other obstructions that may hinder the construction process. This will ensure a clean and smooth installation.
Measuring and marking the area
Using the measurements you determined during the design phase, mark the boundaries of the water feature on the ground. This will serve as a guide when digging the hole or trench.
Digging the hole or trench according to the dimensions
Using your shovel or excavator, start digging the hole or trench according to the dimensions you marked. Follow the designated shape and depth, ensuring that the sides are even and vertical. Take care not to damage any existing utility lines or irrigation systems hidden below the surface.
Installing the Water Basin or Pond Liner
Now it’s time to install the water basin or pond liner, depending on the type of water feature you chose. This step is crucial for creating a watertight and stable foundation. Follow these steps:
Ensuring proper placement and alignment
Carefully position the water basin or pond liner in the hole or trench, making sure it fits snugly and aligns with your intended design. Take your time to adjust and align as needed to achieve the desired placement.
Securing the edges and corners
Once the water basin or pond liner is in place, secure the edges and corners to prevent any movement or shifting. This can be done by adding stones, soil, or other suitable materials around the perimeter of the basin or liner.
Creating a smooth and level base
Before adding water, ensure that the base of the water basin or pond liner is smooth and level. This will help prevent any imbalances or stress points that could potentially lead to leaks or instability. Use a level or other measuring tools to check for consistency.
Setting Up the Pump and Tubing
For water features like fountains or waterfalls, the pump and tubing are essential components that will bring your creation to life. Here’s what you need to do:
Placing the pump in the water basin
Position the pump inside the water basin, ensuring that it is fully submerged. Depending on the type of pump you have, you may need to follow specific instructions regarding the depth and placement.
Connecting the tubing to the pump
Attach the tubing to the outlet of the pump securely. Make sure it is tightly connected to avoid any leaks or disconnections.
Securing the tubing in the desired position
Carefully position the tubing according to your planned design. You may need to use clamps, stakes, or other secure fasteners to hold the tubing in place. Take into consideration the height, angle, and direction you want the water to flow.
Creating a Waterfall or Fountain
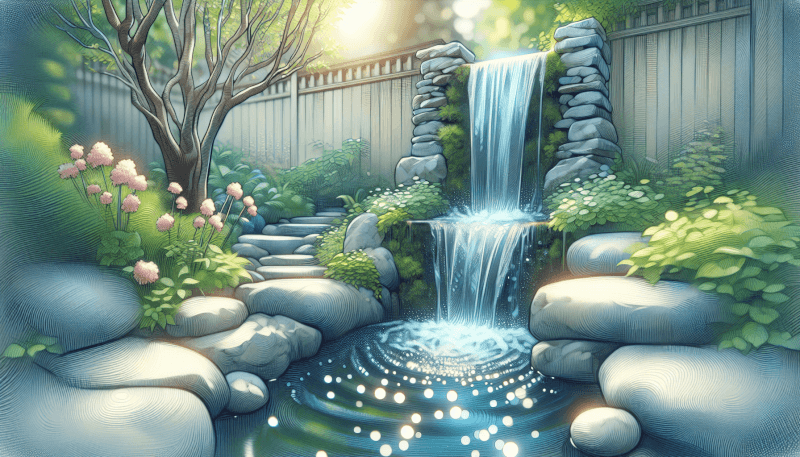
If you opted for a waterfall or fountain design, this is where you get to bring your water feature to life. Here’s how to do it:
Building a rock or stone structure for the water to flow over
Using your selected rocks or stones, arrange them in a visually appealing structure for the water to cascade over. Take into account the size and shape of the rocks, as well as their stability. Ensure that water can flow smoothly and create the desired sound and visual effect.
Attaching the tubing to the structure
Connect the tubing from the pump to the rock or stone structure, ensuring a secure and watertight connection. Experiment with different positions and angles to achieve the desired water flow and distribution.
Testing the water flow and adjusting as needed
Before adding decorative elements, test the water flow to see how it interacts with the structure. Make any necessary adjustments to ensure optimal flow, sound, and overall visual appeal. This may involve repositioning rocks, adjusting water pressure, and fine-tuning the pump settings.
Adding Decorative Elements
Now that the basic structure of your water feature is complete, it’s time to add decorative elements to enhance its overall appearance. Here are some suggestions:
Placing decorative stones or pebbles in and around the water feature
Arrange decorative stones or pebbles within the water basin or around the edges of your water feature. This can create a more natural and visually appealing environment for aquatic plants, fish, and other creatures.
Positioning plants and aquatic life for aesthetic appeal
If you’ve opted to include plants and aquatic life in your water feature, carefully position them for optimal visual appeal. Consider the colors, textures, and growth habits of the plants to create a harmonious and balanced arrangement. Ensure that all chosen plants are suitable for the water conditions and the specific species you have.
Incorporating lighting for visual enhancement (optional)
For added visual impact, consider incorporating lighting into your water feature. Underwater lights or strategically placed spotlights can illuminate the flowing water, plants, and decorative elements, creating an enchanting ambiance during the evening hours.
Filling and Treating the Water
With all the essential components in place, it’s time to fill your water feature and ensure the water is treated properly. Follow these steps:
Filling the water basin or pond with clean water
Fill the water basin or pond with clean, fresh water until it reaches the desired level. Take care not to overfill, as this could cause water to spill over the edges or disrupt the balance of your water feature.
Testing the water pH and adding necessary treatments or chemicals
Test the pH level of the water using a water testing kit. Adjust the pH as necessary to ensure it falls within the optimal range for the plants and aquatic life you have chosen. If required, add any necessary treatments or chemicals to maintain water clarity and balance. Follow the manufacturer’s instructions and recommendations for dosage.
Allowing the water to circulate and settle
After filling and treating the water, allow the water feature to circulate and settle for at least 24 hours before introducing any plants or animals. This will help establish a stable and balanced ecosystem within your water feature.
Maintenance and Care
Congratulations! You now have a beautiful and functional DIY water feature in your outdoor space. However, to ensure its longevity and continued enjoyment, regular maintenance and care are crucial. Follow these practices:
Regularly cleaning the water feature (removing debris, replacing water)
Clean the water feature regularly to remove any debris, fallen leaves, or unwanted algae. This will prevent clogs, blockages, and water quality issues. Additionally, periodically replace or top-up the water to compensate for evaporation and keep the water level consistent.
Monitoring water levels and refilling as needed
Keep a close eye on the water levels in your water feature. Depending on the climate and weather conditions, water evaporates at different rates. Check and refill the water as needed to maintain the desired water level.
Checking and maintaining pump functionality
Inspect the pump regularly to ensure it’s functioning properly. Clean or replace any clogged filters, impellers, or valves to maintain optimal pump performance. Address any unusual noises, vibrations, or decreased flow rates promptly, as these could be signs of pump malfunction.
Pruning and maintaining plants and aquatic life
If you have incorporated plants and aquatic life in your water feature, make sure to trim, prune, and maintain them regularly. Remove any dead or decaying plant matter to prevent it from affecting the water quality. Monitor the health and behavior of the aquatic life and seek professional advice if you notice any signs of distress.
By following this comprehensive step-by-step guide, you can confidently embark on building your own DIY water feature. Remember to choose a suitable location, carefully design the feature, gather all the necessary tools and materials, and follow proper installation and maintenance practices. Building a water feature can be a rewarding and enjoyable project that will bring serenity and beauty to your outdoor space for years to come. Happy water feature building!
