Whether you’re an avid gardener or just starting out, having plant markers is a great way to keep track of your plants and herbs. Instead of buying expensive markers, why not make your own? In this article, we’ll show you a simple and fun DIY project that will have your garden looking organized and stylish. With just a few materials and some creativity, you can easily create personalized plant markers that will add a personal touch to your green space. So grab your craft supplies and let’s get started on this exciting gardening project!
Materials Needed
To make your own plant markers, you will need the following materials:
Wooden sticks
Wooden sticks will serve as the base for your plant markers. These can be found in craft stores or can be repurposed from old popsicle sticks.
Paint or markers
Choose either paint or markers to decorate your plant markers. Paint allows for more creativity and a wider range of colors, while markers are easier to use and provide a neater finish.
Clear sealant
Applying a clear sealant to your plant markers will protect them from the elements and ensure their longevity.
Paint brushes
If you choose to use paint, you will need paint brushes of various sizes to apply the paint smoothly and with precision.
Stencil or letter stickers
To add labels or designs to your plant markers, you can use stencils or letter stickers. This will help ensure that your markers are neat and easy to read.
Hot glue gun
A hot glue gun will come in handy when attaching decorations or signs to your plant markers.
Cardboard
You will need cardboard to create signs for your plant markers. Cardboard can easily be cut into various shapes and sizes to suit your needs.
Preparing the Wooden Sticks
Before you can start decorating your plant markers, you need to prepare the wooden sticks.
Selecting the sticks
Choose wooden sticks that are sturdy and of the desired length for your plant markers. Make sure they are smooth and free from any splinters.
Cleaning the sticks
If you are repurposing wooden sticks, it is important to clean them before use. Wipe them down with a damp cloth to remove any dirt or debris. Allow them to dry completely before moving on to the next step.

Decorating the Markers
Now that your wooden sticks are ready, it’s time to get creative and decorate your plant markers.
Painting the markers
If you choose to paint your plant markers, start by applying a base coat of paint to the wooden sticks. This will create a smooth surface for your designs. Once the base coat is dry, you can add patterns, designs, or images using different colors of paint.
Using markers for design
If you prefer to use markers, simply start drawing your desired designs directly onto the wooden sticks. Markers allow for more intricate details and precision.
Adding stenciled or letter stickers
To add labels or designs to your plant markers, you can use stencils or letter stickers. Place the stencil or stickers on the wooden sticks and gently press them down to ensure they adhere properly.
Sealing the Markers
To protect your plant markers from the elements and ensure their longevity, it is important to apply a clear sealant.
Choosing a clear sealant
There are various clear sealants available, such as acrylic sealant or clear gloss spray. Choose a sealant that is suitable for outdoor use and waterproof to provide the best protection for your markers.
Applying the sealant
Following the instructions on the sealant packaging, apply a thin and even coat of sealant to the painted or decorated areas of your plant markers. Allow the sealant to dry completely before using the markers in your garden.
Alternative Marking Methods
If wooden sticks are not your preferred choice for plant markers, there are alternative methods you can explore.
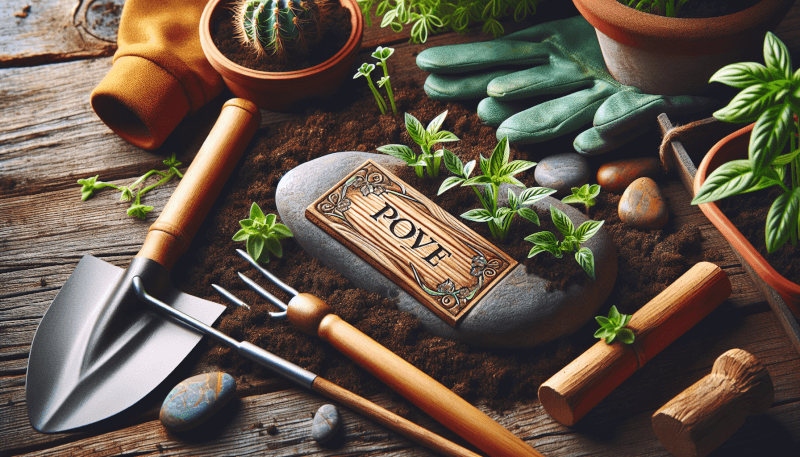
Using flat stones
Flat stones can be a unique and natural alternative to wooden sticks. Simply wash the stones, paint or use markers to add designs, and seal them with a clear sealant.
Recycling plastic containers
Plastic containers, such as yogurt cups or pill bottles, can be repurposed into plant markers. Cut the containers into desired shapes, decorate them, and attach them to dowels or sticks.
Making markers from metal
For a more durable option, you can make plant markers from metal. Cut metal strips or use metal tags, paint or engrave them, and attach them to stakes or metal rods.
Creating Permanent Markers
If you want plant markers that will last for a long time, you can create permanent markers using a woodburning tool.
Burning the markers
Using a woodburning tool, carefully burn or engrave the desired labels or designs onto the wooden sticks. This method ensures that the markings will not fade or wear off over time.
Using a woodburning tool
A woodburning tool is a heated pen-like instrument that allows you to burn or etch designs onto wood. Follow the safety instructions provided with the tool to avoid any accidents or injuries.
Customizing Markers
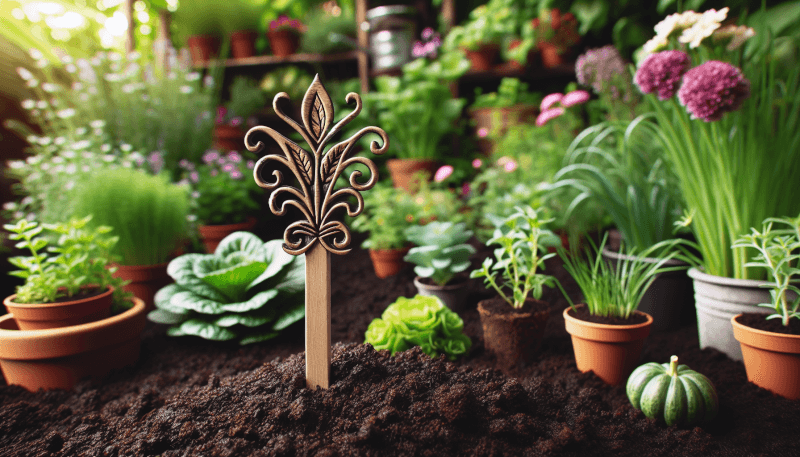
To make your plant markers unique and personalized, consider adding decorative elements or using different painting techniques.
Adding decorative elements
Enhance the appearance of your plant markers by attaching decorative elements such as small beads, buttons, or ribbons. Use a hot glue gun to securely attach these items to the markers.
Painting patterns or designs
Experiment with different painting techniques to create patterns or designs on your plant markers. You can try stenciling, sponging, or using a toothbrush to create unique textures and effects.
Using colored markers
Instead of traditional black markers, opt for colored markers to make your plant markers more vibrant and eye-catching. Use different colors for different types of plants or use a color scheme that matches your garden’s aesthetic.
Making Plant Marker Signs
If you want to add informative signs to your plant markers, you can create them using cardboard.
Cutting cardboard signs
Cut cardboard into small rectangular shapes to create signs for your plant markers. The size of the signs depends on the length and width of your wooden sticks. Cut them slightly larger to allow room for any additional information or decorations.
Painting the signs
Paint the cardboard signs to match the color scheme or theme of your garden. You can also add designs or patterns using markers or stencils.
Attaching signs to markers
Once the signs are dry, use a hot glue gun to attach them securely to the wooden sticks. Make sure the signs are facing forward and easily readable when inserted into the soil.
Making Markers for Different Plants
Different plants have different requirements, so it can be helpful to label them accordingly.
Labeling herbs and vegetables
For herbs and vegetables, it is helpful to specify the type of plant and any special instructions. Label each marker with the name of the herb or vegetable, along with any additional information such as sun or shade preferences or watering requirements.
Creating markers for flowers
Flower markers can be more decorative and artistic. Consider adding the name of the flower, the color, and any other distinguishing features or care instructions.
Designing markers for succulents
Succulents require specific care, so it is important to label them accordingly. Provide information on their drought tolerance and watering needs. You can also add decorative elements such as cacti or desert-themed designs to enhance the markers.
Tips for Long-lasting Markers
To ensure your plant markers last as long as possible, follow these tips:
Choosing weather-resistant materials
Select materials that are weather-resistant and can withstand outdoor conditions. Avoid using materials that may warp or deteriorate when exposed to rain, sun, or extreme temperatures.
Properly sealing the markers
Applying a clear sealant to your plant markers is essential to protect them from moisture and UV damage. Make sure to evenly coat all painted or decorated areas and allow the sealant to dry completely before using the markers.
Adding a protective layer
Consider adding an extra layer of protection to your plant markers by placing them in a protective sleeve or covering them with a waterproof material. This will further shield them from the elements and extend their lifespan.
By following these steps and tips, you can create your own personalized plant markers that will add a touch of creativity and functionality to your garden. Enjoy the process of crafting unique markers and watch as your garden blooms with beauty and organization. Happy gardening!

